
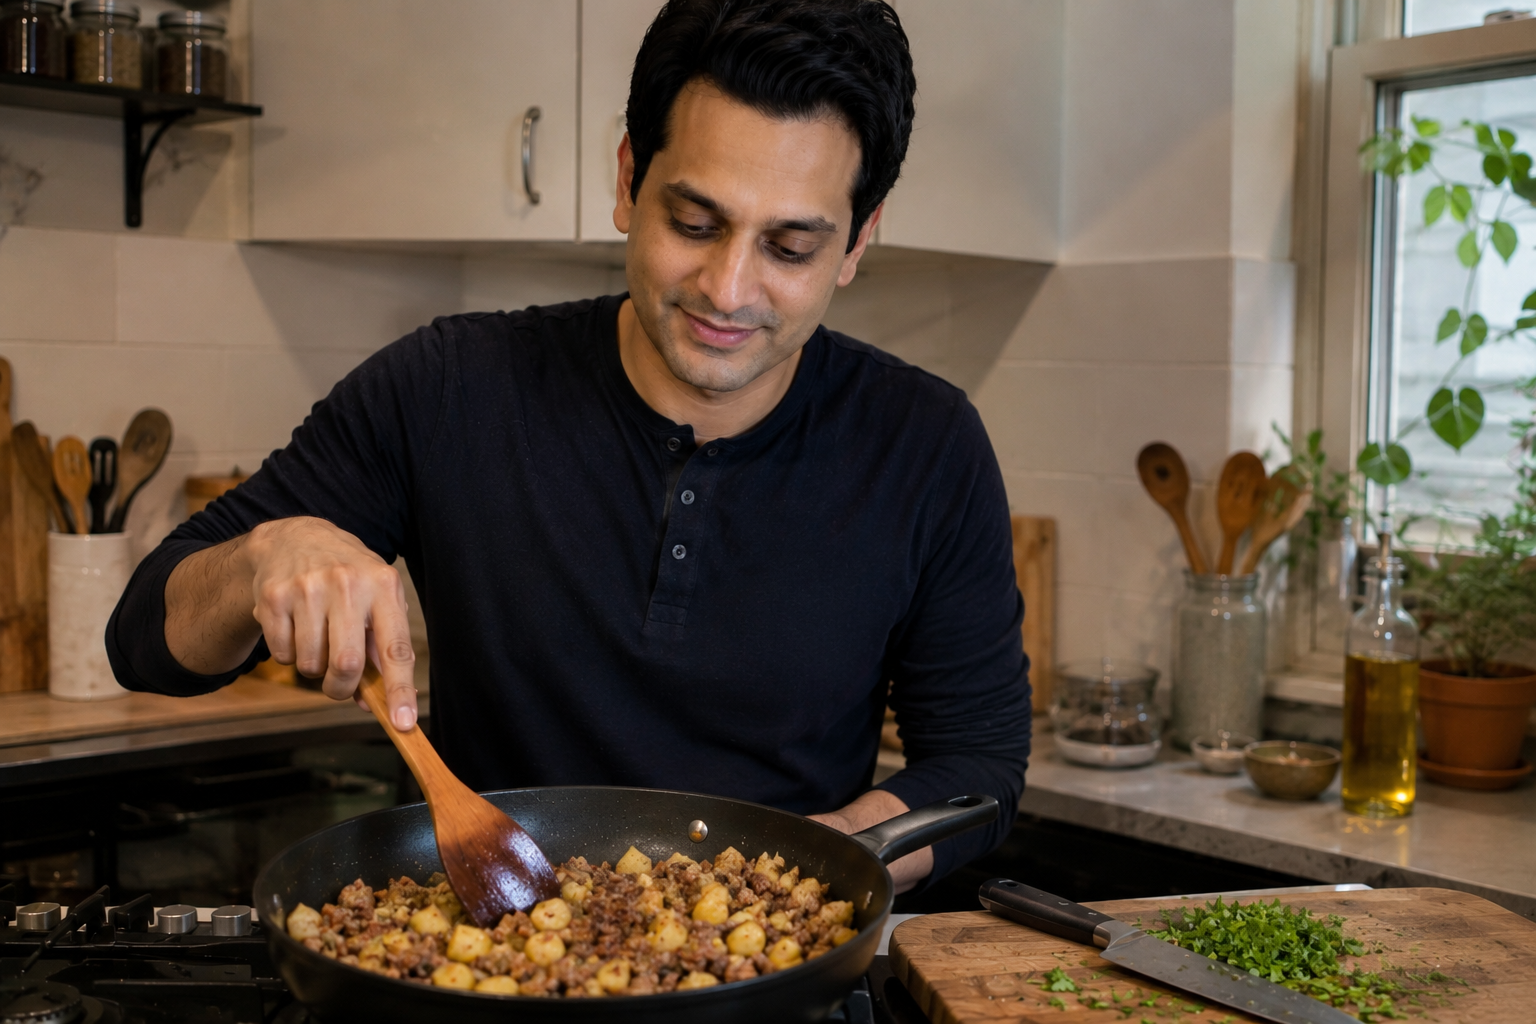
I burned this dish the first time I made it. Not charred-beyond-recognition burned, but the potatoes stuck to the bottom of my cheap nonstick pan and turned into a crusty, bitter layer that took three days of soaking to remove. The beef was grey. The onions were still crunchy. I ate it anyway because I was twenty-two and broke, but I did not enjoy it.
Twelve years later, I make this same beef and potato skillet at least twice a month. It takes twenty-two minutes from raw ingredients to the plate. My kids ask for it by name. The potatoes get crispy edges. The beef browns properly. The whole thing costs under seven dollars and feeds four people. The pan cleans up in ninety seconds.
The difference between that first disaster and now is not better ingredients or fancier equipment. It is understanding three specific things: how to dry the potatoes, how to manage the heat in stages, and when to walk away from the pan and let it do its job. This article is everything I learned from twelve years of getting it wrong so you can get it right the first time.
Why This Specific Combination Works
Beef and potatoes are not a random pairing. They are a classic combination across dozens of cuisines because they solve each other’s problems. Potatoes are bland and starchy. Beef is rich and fatty. Together, the beef fat coats the potatoes and the potatoes absorb the beef flavor. The result is greater than the sum of its parts.
But this only happens if you cook them in the right order. Most people fail because they dump everything in at once. The beef boils in its own juices. The potatoes steam instead of fry. You end up with a grey, soupy mess that tastes like cafeteria food.
The right method is counterintuitive: you cook the potatoes first, alone, in a hot pan with oil. Then you remove them. Then you cook the beef. Then you combine everything at the end with the seasonings. It sounds like extra work, but it actually takes less time because the potatoes finish in the beef’s rendered fat while you are doing nothing.
The Science of the Crispy Edge
Potatoes contain about 80% water. When you put wet potatoes in a hot pan, that water turns to steam and the potatoes boil in their own juices. They never brown. The secret is drying them thoroughly with a paper towel after cutting, then letting them sit undisturbed in the hot pan for three to four minutes. The bottom layer dehydrates and makes direct contact with the metal. That contact is what creates the golden crust. Moving them too often is the enemy of crispiness.
What You Actually Need
This is not a recipe that requires a trip to a specialty store. I buy everything at Aldi or Walmart. Here is the exact list with prices from my last shopping trip in June 2026:
| Ingredient | Amount | Cost | Notes |
|---|---|---|---|
| Ground beef (80/20) | 1 pound | $3.89 | An 80/20 fat ratio is ideal. Leaner beef dries out. |
| Russet potatoes | 1.5 pounds (about 3 medium ones) | $1.29 | Russets crisp best. Yukon Gold works but stays softer. |
| Yellow onion | 1 medium | $0.49 | Sweet onion works too. Red onion gets too soft. |
| Garlic | 3 cloves | $0.20 | Jarred minced garlic is fine. Use 1.5 teaspoons. |
| Vegetable oil | 3 tablespoons | negligible | Any neutral high-heat oil works. |
| Seasonings | see below | negligible | Salt, pepper, paprika, garlic powder, and onion powder. |
Total cost: $5.87 for four servings. That is $1.47 per plate. The last time I ordered a single fast-food burger, it cost $6.49.
The Pan That Actually Matters
I have cooked this in four different pans. Here is the honest truth about each:
Cast iron skillet (12-inch): This is what I use now. It holds heat so well that the potatoes actually crisp instead of steaming. The beef browns deeply. The pan develops a seasoning over time that makes cleanup easier. Downside: it weighs six pounds and takes two minutes longer to heat up. Worth it.
Stainless steel skillet (12-inch): My second choice. Excellent browning, but you need enough oil and you need to let the potatoes release naturally before scraping. If you force them, they tear and stick. Patience required.
Nonstick skillet (12-inch): I used this for years. It works, but you will never get the same crust. The coating prevents the direct metal-to-potato contact that creates crispiness. Also, high heat degrades nonstick coatings over time. I reserve my nonstick for eggs now.
Anything smaller than 12 inches: Do not bother. The potatoes will be stacked two layers deep. They will steam. You will be disappointed. Twelve inches is the minimum. Fourteen is better if you are cooking for five or six.
The Preheat Test
Before adding oil, heat your empty pan for three minutes on medium-high. Then flick a drop of water into it. If it sizzles and evaporates within one second, the pan is ready. If it just sits there, wait another minute. If it instantly vanishes with a loud crack, your pan is too hot—reduce to medium and wait thirty seconds. This test takes five seconds and prevents 90% of sticking problems.
Step-by-Step: The Method That Actually Works
I am going to give you exact times. Not “cook until done”—actual minutes. Set a timer. Do not guess. Guessing is how potatoes end up raw in the middle or burned on the outside.
Step 1: Prep (7 minutes)
Cut the potatoes into half-inch cubes. I mean exactly a half-inch. Not quarter-inch (they burn). Not one inch (they stay raw). Half-inch. Use a ruler the first few times if you need to. Uniform size is the difference between crispy, cooked potatoes and a pan of disappointment.
Spread the cubed potatoes on a clean kitchen towel or several paper towels. Pat them completely dry. This is non-negotiable. Wet potatoes steam. Dry potatoes are crisp. Spend thirty seconds on this. It matters more than any other step.
Dice the onion. Mince the garlic. Measure your seasonings into a small bowl so you are not fumbling with spice jars while the pan is hot. This is your mise en place. Do not skip it.
Step 2: Crisp the Potatoes (10 minutes)
Heat your 12-inch pan empty for three minutes. Add two tablespoons of oil. Swirl to coat. Add the dried potatoes in a single layer. Do not crowd them. If they are stacked, cook in batches.
Let them sit. Do not touch them for three to four minutes. I know you want to stir. Resist. Set a timer. Walk away if you have to. When the timer goes off, flip a few cubes with a spatula. If they are golden brown underneath, flip them all. If not, give them another minute.
Cook the other side for two to three minutes. You want about 60% of the cubes to have crispy edges. They do not need to be fully cooked inside yet—they finish later. Remove potatoes to a plate. They will look pale and underdone in the center. Correct.
Step 3: Brown the Beef (5 minutes)
Add the remaining one tablespoon of oil to the same pan. Add the ground beef. Break it up with a spatula. Let it sit for one minute without stirring so it browns. Then break it up more and stir. Cook until no pink remains, about four minutes total.
Drain excess fat if there is more than two tablespoons in the pan. I usually leave about one tablespoon—it flavors the potatoes. But if your beef was particularly fatty, spoon some out. Do not pour it down the sink. Use a jar or old can.
Step 4: Aromatics and Seasonings (2 minutes)
Add the diced onion to the beef. Cook for two minutes until soft and translucent. Add the garlic. Cook for thirty seconds until fragrant. Do not burn the garlic. Thirty seconds. Set a timer.
Add your spice mix: one teaspoon salt, half a teaspoon black pepper, one teaspoon paprika, half a teaspoon garlic powder, and half a teaspoon onion powder. Stir for thirty seconds so the spices toast in the fat. This wakes them up.
Step 5: Combine and Finish (5 minutes)
Return the potatoes to the pan. Toss everything together. The potatoes finish cooking in the beef fat and spice mixture. Cover and cook for three minutes. Uncover, stir, and cook uncovered for two more minutes so any accumulated moisture evaporates.
Taste a potato. It should be tender inside and crispy outside. If it is still firm in the center, cover and cook two more minutes. If the pan looks dry, add a splash of water or broth — just one tablespoon — to create steam.
Serve directly from the pan. Sprinkle with fresh parsley if you have it. I usually do not bother. This is weeknight food, not a dinner party.
Total active time: 22 minutes. Total cost: $5.87. Cleanup: One pan, one cutting board, one knife, one plate, one spatula.
The Variations I Actually Make
Once you know the base method, you can adapt it endlessly. Here are the ones I rotate through:
Cheesy Version: After combining potatoes and beef in Step 5, sprinkle one cup of shredded cheddar over the top. Cover for two minutes until melted. My kids call this “cheeseburger potatoes” and request it specifically.
Spicy Version: Add one diced jalapeño with the onion. Increase paprika to one and a half teaspoons. Add a quarter teaspoon of cayenne. Serve with hot sauce. This is what I make when my wife is working late and I want something with actual heat.
Vegetable-Bulked Version: Add one diced bell pepper and one cup of frozen peas with the potatoes in Step 5. The peppers add sweetness and stretch the meal to six servings without adding cost. The peas go in frozen — they thaw and cook in the five-minute finish time.
Breakfast-for-Dinner Version: Fry two eggs in a separate pan while the potatoes finish. Slide them on top of each serving. Break the yolk over the potatoes. This is my favorite version, honestly. The runny yolk creates a sauce that beats any gravy.
Mediterranean Version: Swap the paprika for one teaspoon of dried oregano. Add half a cup of halved cherry tomatoes with the potatoes. Finish with crumbled feta and a squeeze of lemon. This feels like a completely different dish but uses the exact same method.
The Leftover Transformation
This dish reheats poorly in the microwave — the potatoes get soggy. Instead, heat a skillet with a teaspoon of oil, add leftover portions, and crisp them back up over medium heat for four minutes. The potatoes regain their texture. The beef re-browns slightly. It is actually better than the first night because the flavors have melded. I intentionally make extra just for this purpose.
What I Learned From Twelve Years of Failures
Here are the specific mistakes and what they taught me:
Mistake: Using waxy potatoes. I tried red potatoes once because they were on sale. They have less starch and more moisture. They never crisped. They just got soft and waxy. Russets or Yukon Gold only. No exceptions.
Mistake: Cutting potatoes too small. Quarter-inch cubes cook in six minutes and burn in eight. They turn into hard little pebbles. Half-inch is the sweet spot.
Mistake: Crowding the pan. I once tried to fit two pounds of potatoes in my 12-inch skillet. They steamed for fifteen minutes and never browned. Now I cook in batches or use a bigger pan. One and a half pounds is the maximum for a 12-inch skillet.
Mistake: Stirring constantly. I used to treat potatoes like scrambled eggs, stirring every thirty seconds. They never developed a crust. Now I set a timer for three minutes and physically step back. The crust forms in the silence.
Mistake: Adding garlic too early. Garlic burns in about forty-five seconds at high heat. I used to add it with the onion. Now I add onion first, cook two minutes, then add garlic for thirty seconds. No more bitter, burned garlic.
Mistake: Cooking on too low heat. Medium heat does not brown beef. It grays it. High heat for the sear, then medium for the finish. Start hot, then adjust down.
Storage and Reheating That Actually Works
Refrigerator: Store in an airtight container for up to four days. The potatoes will soften. This is unavoidable. Do not microwave.
Reheating: Use a skillet with a teaspoon of oil over medium heat. Four minutes, stirring once. The potatoes recrisp. The beef reheats evenly. This is the only method I use now.
Freezer: I do not recommend freezing this. The potatoes turn grainy and mealy when thawed. The texture is unpleasant. If you must freeze, undercook the potatoes slightly so they finish when reheated. But honestly, just make it fresh. It only takes twenty-two minutes.
Why This Meal Matters to Me
This is not fancy food. It will not impress anyone on Instagram. But it is honest food that fills you up, costs almost nothing, and reminds you that cooking does not have to be complicated to be good.
On nights when I am exhausted, when the kids are hungry and cranky, when the fridge looks empty and the bank account looks emptier, this skillet saves me. It is the meal I make when I need to feel competent. Twenty-two minutes. Seven dollars. Four full plates. That is not just dinner. That is proof that I can take care of my family even when everything else feels hard.
Start with this recipe. Master the sequence. Then adapt it to what you have. The method is the real recipe. The beef and potatoes are just the first version.
Related Articles
Looking for more one-pan meals and budget-friendly skillet dinners? Here are practical guides from our kitchen:
- One-Pan Healthy Chicken and Vegetable Stir-Fry for Busy Weeknights — A lighter one-pan option using chicken and fresh vegetables with a homemade sauce.
- One-Pan Quick Meals for Stress-Free Home Cooking — The complete guide to mastering one-pan cooking with multiple real recipes and the science behind the method.
- Easy Bean and Rice Skillet Dinner for Busy Weeknights — A meatless skillet meal that uses pantry staples and costs even less than this beef version.
- Cheap Pasta Recipes Using Everyday Kitchen Staples — When you want variety beyond skillet meals, these pasta dinners use minimal ingredients and one pot.
- Quick Egg Fried Rice with Minimal Ingredients—Another fast, one-pan meal that uses leftover rice and whatever vegetables you have on hand.
- How to Meal Prep on a Budget: A Complete Beginner’s Guide — Learn to prep components ahead so skillet dinners come together even faster on busy nights.
Sources and References
- United States Department of Agriculture (USDA). FoodData Central: Ground Beef, 80% Lean. https://fdc.nal.usda.gov/fdc-app.html#/food-details/171239/nutrients
- United States Department of Agriculture (USDA). FoodData Central: Russet Potatoes, Raw. https://fdc.nal.usda.gov/fdc-app.html#/food-details/170026/nutrients
- America’s Test Kitchen. The Science of Good Cooking: Understanding Browning and the Maillard Reaction. Cook’s Illustrated. https://www.cooksillustrated.com/
- Harold McGee. On Food and Cooking: The Science and Lore of the Kitchen. Scribner, 2004. — Chapter on potato structure and optimal cooking methods.
- Lodge Manufacturing Company. Cast Iron Cooking Guide: Heat Retention and Searing. https://www.lodgecastiron.com/discover/cooking-with-cast-iron
About the author: The RecipeHarbor team tests every recipe in real home kitchens with ingredients from regular grocery stores. We cook on actual weeknights with actual time constraints. If a recipe does not work for a tired parent cooking after a long day, it does not get published.

Arman Haleem is a passionate food content writer dedicated to simplifying everyday cooking. With a focus on practical recipes, budget-friendly meals, and time-saving kitchen strategies, Arman creates content that fits real-life routines. His approach centers on making healthy eating more accessible without adding complexity. Through Recipe Harbor, he aims to help readers build sustainable cooking habits and feel more confident in the kitchen, regardless of their experience level.